Get CloudFlare working with WordPress on OpenShift for SSL (HTTPS)

Kirtan Thakkar
Life is all about learningWordPress with OpenShift is a good choice. CloudFlare makes your site faster by serving your static contents and makes your site more secure. CloudFlare also provides a flexible SSL certificate for your site which adds more trust to the visitors. However, you might get into some trouble when you enable SSL.
I have been trying to get CloudFlare working with one of my website to enable SSL on it. But I had so many problems with the redirect loops, sitemap errors, mixed content etc. I have almost read out all the blogs related to SSL redirect loops and sitemap errors and tried out everything. So If you are one of those who is trying to get your WordPress blog with https and hosting it in OpenShift online, here are some handy things to get your problem resolved.
Requirement:
- You have already signed up for CloudFlare and added your website. (If you haven’t, here is a good guide to setup your CloudFlare account)
- You have your WordPress installed on OpenShift online and added your domain as an alias.
That’s all. Let’s start solving issues with it.
Install official CloudFlare plugin
You can find this plugin here. Fill in the details of your account in plugin’s settings page and you are good to go.
This plugin solves your mixed content errors and restores the original IPs of your visitors for comments.
Redirect http traffic to https with Cloudflare PageRule
Add a PageRule in your cloudflare website’s PageRule Settings. Add options as shown below:

It will redirect all your http traffic to https traffic. You can find how this work in detail here.
Change your WordPress Site Address and WordPress Address
You currently might have set it to http://example.com , But as now we are using SSL, we need to change it to https://example.com.
Do no directly change it by going into the WordPress settings. Change it by updating your wp-config.php. As you might get your WordPress site or only wp-admin inaccessible till you follow all the steps. So it is better to update in the wp-config.php file, so you can always return back to http, if in case something goes wrong.
Add the following 2 lines to your wp-config.php located in your WordPress root directory:
define(‘WP_HOME’,’https://example.com’);
define(‘WP_SITEURL’,’https://example.com’);
This thing gets your dynamic sitemap.xml working with https.
Set SSL from Flexible to Full in CloudFlare
Yes, Set it Full. You read it right. Even if you have not set up any certificate in your OpenShift account, by default your app address is accessible via http and https. You can access your app (WordPress site in our case) as http://my-app.rhcloud.com and https://my-app.rhcloud.com.
Now, Lets enable Full SSL. Go to Crypto Settings in CloudFlare and Select Full under SSL option.
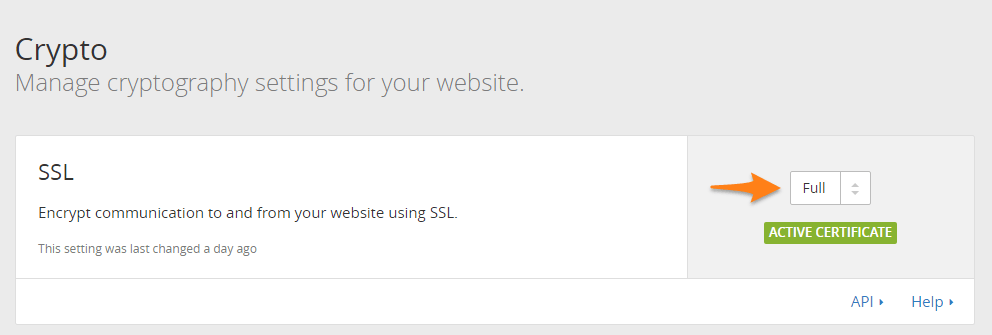
I have contacted CloudFlare support team with the issue, because I was always left with 1 thing not working after trying out different solutions I found. And the support team replied with the detail that the origin (i.e. OpenShift) is serving me an SSL certificate, so enabling SSL option to Full should resolve all the issues.
When you type IP address of the my-app.rhcloud.com in your address bar you will see https symbol.
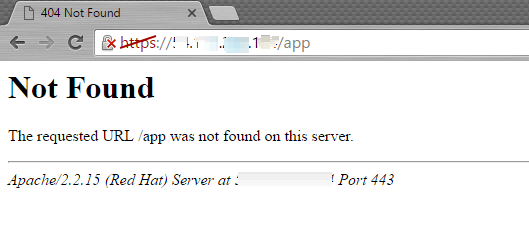 Ignore 404 – Not Found Error
So, OpenShift server is providing SSL certificate for rhcloud.com. The connection between CloudFlare and OpenShift is also encrypted in this case. Setting it flexible caused infinite redirect loop on wp-admin. Setting SSL to Full solves the issue.
Above settings should solve almost all the issues you might have after enabling https. Comment below if you face any issues.